
So you've got an espresso machine. You've watched the YouTube videos. But every time you pour, the foam turns into a sad, shapeless blob instead of that Instagram-worthy heart. Sound familiar?
Here's the good news: latte art isn't magic. It's a learnable skill — and once you understand the fundamentals, you'll be pouring designs that impress your friends (and yourself) in less time than you think.
In this guide, we'll cover everything you need to know to start making latte art at home — from the equipment you actually need, to the milk technique that changes everything, to your first heart, tulip, and rosetta.
What You Need to Get Started
Before you can pour art, you need the right setup. Here's the minimum:

The Essentials
| Tool | Why It Matters |
|---|---|
| Espresso Machine with Steam Wand | You need proper steam power to create microfoam. Even entry-level machines like the Breville Bambino Plus can do the job. |
| Milk Pitcher (12-15 oz) | A pitcher with a pointed spout gives you control over your pour. The Motta Europa is excellent for beginners. |
| Fresh Espresso Beans | Fresh beans (2-4 weeks from roast) produce the crema needed as your canvas. Stale beans = weak crema = no contrast. |
| Cold Whole Milk | Whole milk (3.25% fat) is the easiest to steam. The fat helps stabilize the microfoam. |
| Thermometer | Temperature control is everything. Aim for 150-155°F (65-68°C). |
Nice to Have
- Grinder: Fresh-ground coffee has way more crema. The Baratza Encore ESP is a solid pick at $199.
- Tamper: A level tamp ensures even extraction and good crema.
- Scale: Precision in espresso brewing translates to better crema.
Milk Steaming: The 90% Nobody Talks About
Here's the secret every barista knows: latte art is 90% milk texturing and 10% pouring.
If your milk isn't right — too thin, too thick, too bubbly — no amount of pouring skill will save you. Get the milk right, and the art almost pours itself.
The Two Phases of Steaming
Phase 1: Aeration (3-5 seconds)
- •Keep the steam wand tip just below the surface of the milk
- •You should hear a gentle hissing sound — like paper tearing softly
- •This is where you introduce air, creating the foam
- •Pro move: keep the pitcher at a slight angle so the milk spins while aerating
Phase 2: Texturing (until 150°F)
- •Submerge the wand tip deeper into the milk
- •Position it to create a vortex — the milk should spin in a whirlpool
- •The vortex breaks large bubbles into microfoam
- •Stop when the pitcher is too hot to hold comfortably (about 150°F)
The Wet Paint Test
Perfect microfoam looks like wet paint. It should be:
- Glossy and smooth on the surface
- Uniform throughout (no separate foam layer)
- Free of visible bubbles
If you see large bubbles: tap the pitcher on the counter and swirl vigorously. If it looks like dish soap suds, you aerated too long — start over.
Milk Type Guide
| Milk | Steaming Temp | Notes |
|---|---|---|
| Whole Milk | 150-155°F | Easiest to work with, best foam |
| 2% Milk | 150°F | Workable but less creamy |
| Oat Milk (Barista) | 145-150°F | Great dairy-free option, steams well |
| Almond Milk | 140°F | Separates easily, use barista blends only |
| Soy Milk | 145°F | Can curdle at high heat, gentle steaming |
Step-by-Step: Your First Heart
The heart is the foundation of all latte art. Master this, and everything else follows.
Pull your espresso.
You need a fresh shot with a rich, dark crema. The crema is your canvas — without it, the milk sinks right through.
Tilt your cup.
Hold the cup at a 45° angle toward you. This gives the milk a slope to land on.
The initial pour.
Pour milk from 2-3 inches above the cup, directly into the center. This integrates the milk with the espresso without making designs. Fill the cup about ⅓ full.
Get close.
When the cup is about ⅔ full, bring the pitcher spout down to about ¼ inch from the surface of the coffee. This close proximity is what lets the foam sit on top.
Pour the dot.
Pour a steady stream in the center of the cup. A white dot will form on the surface. Keep pouring — the dot expands.
Finish with conviction.
When the dot is the size you want, lift the pitcher slightly and pour a thin line through the center of the dot from back to front. This creates the point at the bottom of the heart.
Troubleshooting:
- • Heart is too small? You started the art too late. Start pouring the design earlier.
- • No heart forms? Your milk is too thin. More aeration needed.
- • Design is blurry? Your espresso crema is weak. Use fresher beans.
Step-by-Step: The Tulip
The tulip is a stacked heart — three layers of pouring that build on each other.
Start like the heart — pour from height to fill the cup ⅓ full.
Bring the spout close and pour a steady stream. A white dot forms — this is layer one.
Stop pouring, then pour again just behind the first dot. The second pour pushes the first dot forward and stacks above it.
Repeat one more time. Each pour should be slightly more aggressive than the last.
Finish with a thin line through the center to create the stem.
Pro tip: The key to the tulip is timing. Don't rush between pours — let each layer settle for half a second before the next one.
Step-by-Step: The Rosetta (Leaf)
The iconic rosetta looks harder than it is. The secret: it's about the wiggle.
Fill the cup ⅓ full from height, same as before.
Bring the spout close to the surface.
Start pouring a steady stream while wiggling the pitcher side to side. The wiggle comes from your wrist, not your arm. About 1-2 wiggles per second.
As you wiggle, slowly move the pitcher backward toward the far rim of the cup. The wiggling creates the 'leaf' pattern — each wiggle is a leaf vein.
When you reach the rim, lift the pitcher and pour a thin line back through the center. This creates the stem.
Troubleshooting:
- • No leaf pattern? Your wiggle is too wide or too slow. Tight, quick motions.
- • Pattern is messy? Your milk is too thick. Less aeration.
- • Can't see the design? Your crema is too light. Fresher beans needed.

The Most Common Beginner Mistakes
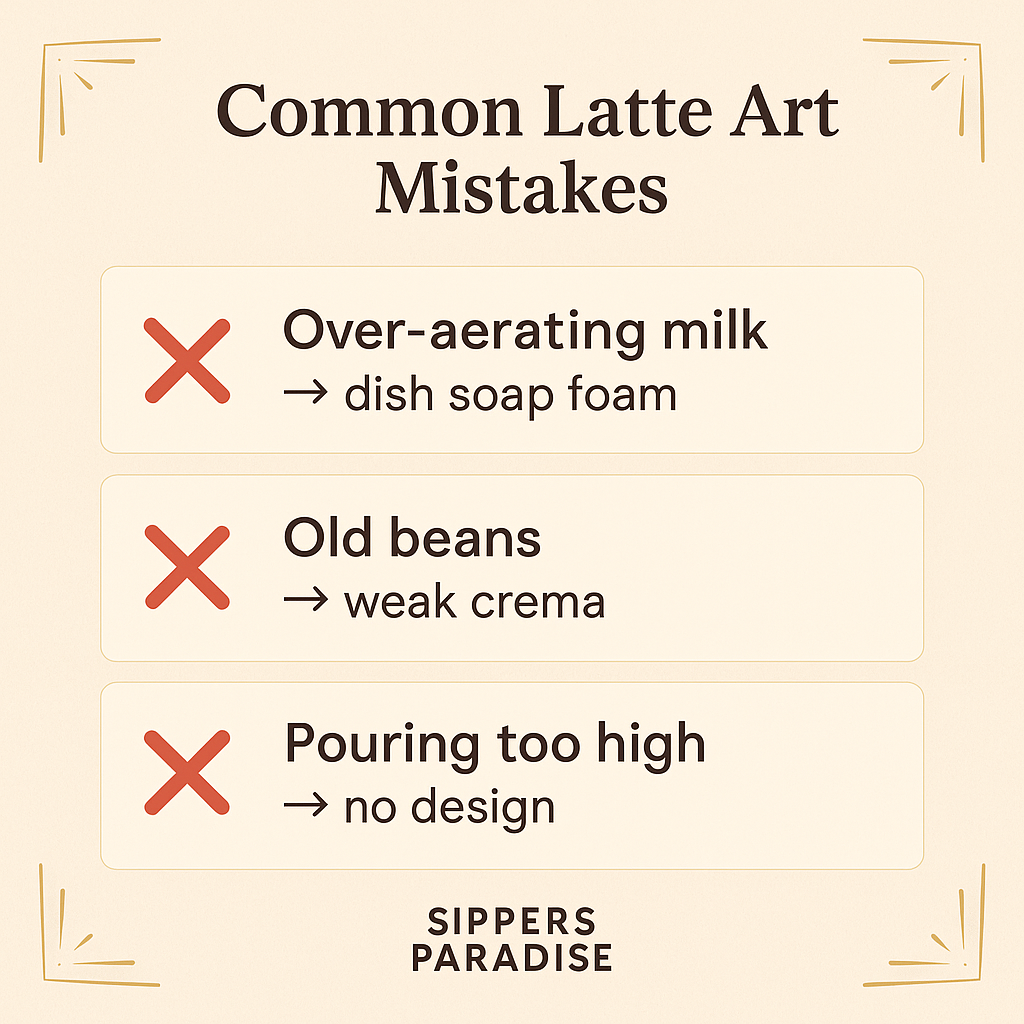
Pouring too fast.
New baristas rush the pour. Slow and steady gives you control. Watch experienced baristas — their pour is almost meditative.
Not tilting the cup.
A flat cup means the milk has nowhere to go. Tilting creates a natural angle for the foam to float on top.
Over-aerating the milk.
More foam ≠ better art. Too much foam and it pours in clumps. 3-5 seconds of gentle aeration is all you need.
Using old beans.
Crema is your contrast layer. If your beans are more than 4 weeks post-roast, the crema is too thin and your art won't show.
Pouring from too high.
Once you're ready to make art, the spout needs to be right at the surface. Think 'close enough to kiss the coffee.'
Stopping mid-pour.
Latte art requires flow. If you hesitate, the foam separates and the design breaks. Commit to the pour.
Your 30-Day Latte Art Roadmap
| Week | Focus | Milestone |
|---|---|---|
| Week 1 | Master milk steaming | Consistent microfoam every time |
| Week 2 | Pour the heart | Clean heart with defined shape |
| Week 3 | Pour the tulip | Three distinct layers, centered |
| Week 4 | Pour the rosetta | Clear leaf pattern with stem |
More from the Sippers Paradise Blog
Best Espresso Machines for Beginners in 2026: The Complete Buyer's Guide →Master Every Latte Art Technique
The heart, tulip, and rosetta are just the beginning. The Sippers Paradise Complete Guide walks you through every technique with detailed photos, pro-level troubleshooting, and 52 incredible coffee drink recipes.
Stop wasting money on bad coffee. Start pouring like a pro.